Learning
log – DPP assignment 3; Monochrome
“…….everything
looks worse in black and white”
(Paul Simon – From the song: Kodachrome)
When I read this I laughed!, so I had to include it in my
log. That’s not the only reason I included it, because in a way, he is right!.
On looking back when I first thought about this assignment, what popped in to
my head was ‘Dark, morose, melancholy’ and from what I noted in my assignment,
with regards to the exhausted image that I found in my book, would have looked
a lot happier, in colour, so in a roundabout way, it makes sense, we sometimes
use black and white to portray feelings that are “worse” than what it would be,
than with a colour image. I know that’s not what he means by this, as it is
from a song, however, I like to look at in a different light!. By the by, the
other thoughts I had after the first three above were, ‘dramatic, powerful,
detail and contrast’. On that note, I have a happier quote, which I believe and
love.
“Black and white
photography does more to invoke an emotion and freeze a moment in time than any
other medium. Looking back over the decades at such famous photographers as,
Steigletz, Weston, Adams and others has helped elevate black and white
photography, to a fine art form. The subtle tones of gray’s, the strong
emphasis of the blacks and the softness of the whites makes one look much
closer at the subject and composition due to the lack of natural colour.
Emotions are always much easier to portray with black and white, because of the
stark contrasts and the sharp focus on the subject”
(Bob Snell)
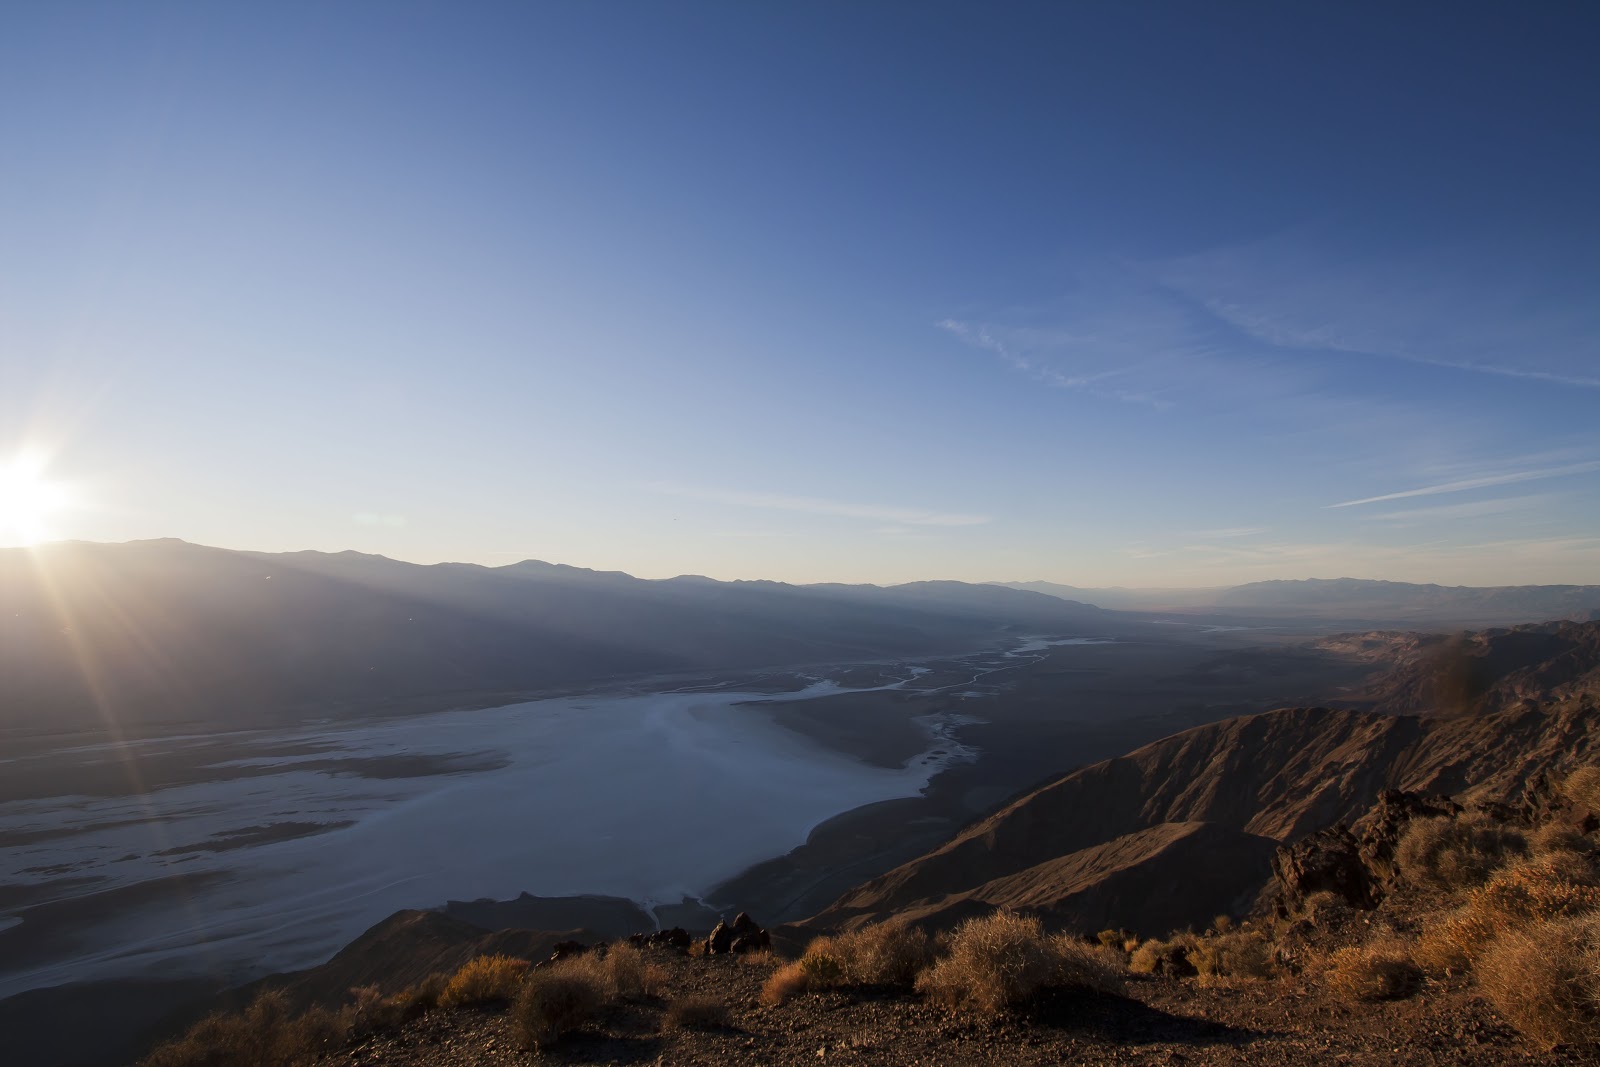
With
the above quote in mind I refer to an image taken by, yep you guessed it, Ansel
Adams, I just love the contrast in his image, the way the sand looks like waves
in the sea, the tight composition and the detail is amazing.
My Thoughts
I really, really enjoyed this assignment, I never thought
I would and that I would love shooting in black and white, it’s something I
rarely do, I think mainly due to all of the software programs that are out there.
Which is a shame, however, that can now be remedied!, it was really helpful to look
at the screen as to how the image was in black and white, as I feel it really
helped my in this assignment.
As I said in my
assignment, it was quite windy so extremely difficult to get the sharp detailed
images I wanted to achieve, so I feel that I should have had a better tripod.
Once I have some funds, this will be on the top of my list to get!.
Strengths on my
assignment
I think with this assignment, my strength is in the
contrast with each image, I really like how I portrayed the strength of the black
and the white, I think using bracketed exposure on my camera really helped and
as always, I am happy with my composition. I am really happy with all of my
images, but I may have to rethink a few of them, depending on my feedback.
Weaknesses on
my assignment
It’s the sharpness and strong focus which I have not
ascertained with this assignment, I wish I could go back again and do it on a
day which wasn’t windy, or, with a different tripod, however, I think I’ve been
enough times this year!. I also wish I could have got the shot of the bridge
with the people on a bit better, so that the three lights were in it, with a
lot of the ground in front as well. I also think that sometimes it’s a good to
have an image which is no entirely sharp, which does actually work well for that
particular image.
Some of my
research sources-Books, websites and documents
·
Ansel Adams at 100 by John Szarkowski
·
Black + White Photography: all about modern
monochrome by Elizabeth (ed) Roberts
·
The Art of Black and White Photography: Techniques
for Creating for Creating Superb Images in a Digital Workflow by Torsten
Andreas Hoffmann
·
Edward Weston (Photo Book Series) Terence Pitts