Sunday, 6 January 2013

DPP-Assignment One; Learning Log


Learning log – DPP assignment 1; Workflow

 My Thoughts
As I said previously, this assignment was good for me to structure a photography shoot, I will use this way of working from now on and it will assist me if future ventures, I enjoyed the subjects that I had to do/chose, as it was not the ‘norm’ for me and I’m extremely pleased with my final images.

Strengths on my assignment
I think it is the organisation and logical thinking, with the way that I plan from start to finish.
 
Weaknesses on my assignment
I struggled with doing it a slightly different way on the exercises and then he assignment, however, I feel that it’s a better way of working.


My research sources-Book and websites

DPP-Assignment One


Assignment One; Workflow

Object of assignment One
For this assignment, I need to devise a themed assignment on a topic that interests me, which I feel comfortable with, by using what I have learned so far, so to construct an effective workflow, from start to finish.

I found this assignment  helpful with the way I construct a shoot from start to finish, I chose to use take photographs of a candlelit, Christmas eve service in a village church, it was defiantly a challenge, due to lighting, however, I was pleased with the final results.

Here is the workflow chart I used for this assignment;-


Choosing a subject
I wanted to choose a subject first, so I could see what equipment I needed. I decided to choose a village church, which was having a candlelit service on Christmas Eve.

Choosing my equipment
I choose to use my 72mm lens as I think it was a good choice to get different compositions and a better range, I also took my wide angle lens, so to get a lot of the church in the view and I took my tripod as I knew there would be limited light.

What to ensure was ready
I charged all my batteries the day before, bought an extra memory card with me and I had my lens cleaning kit.

Timing
I arrived at the church before everyone else, so that I would have some time to get ready and I knew the shoot could last on and off for 3 ½ hours, from when I arrived, to the end of the service.

When I arrived
I took images of the outside of the church, fired a few test shots and tried to do under and over exposure, in case I needed to splice them, then I went inside the church with no one inside it, so I fired some more test shots, however, I knew that the light would be changing but the settings would be changed slightly rather than drastically.

Settings
After I did the test shots, I then adjusted all of my settings (ISO, Aperture etc) to ensure the lighting was how I wanted it to react with the camera and took some more shots.

Shoot
Throughout the shoot, I was trying different viewpoints, without getting in the way or disturbing anyone, I had asked for permission before hand but the patrons didn’t know why I was there, so I needed to be as low key as I could.

After the shoot
I went home and uploaded via bridge, here are the original images.

Step one; - Originals
 
 
I created a file called originals and downloaded the images with Bridge.

 
Step two; - Deleted
 
 
I then moved photos that I wanted to delete, in to a new folder, that weren’t in focus or with bad composition/light that I couldn’t edit in post production.

 
Step three; - The selects


I then selected the images that were good and that I could edit.

 
Step four; - The first selects


From that point, I took a break from the images and went back, and then I selected the images that I would most like to use, almost for the final process.

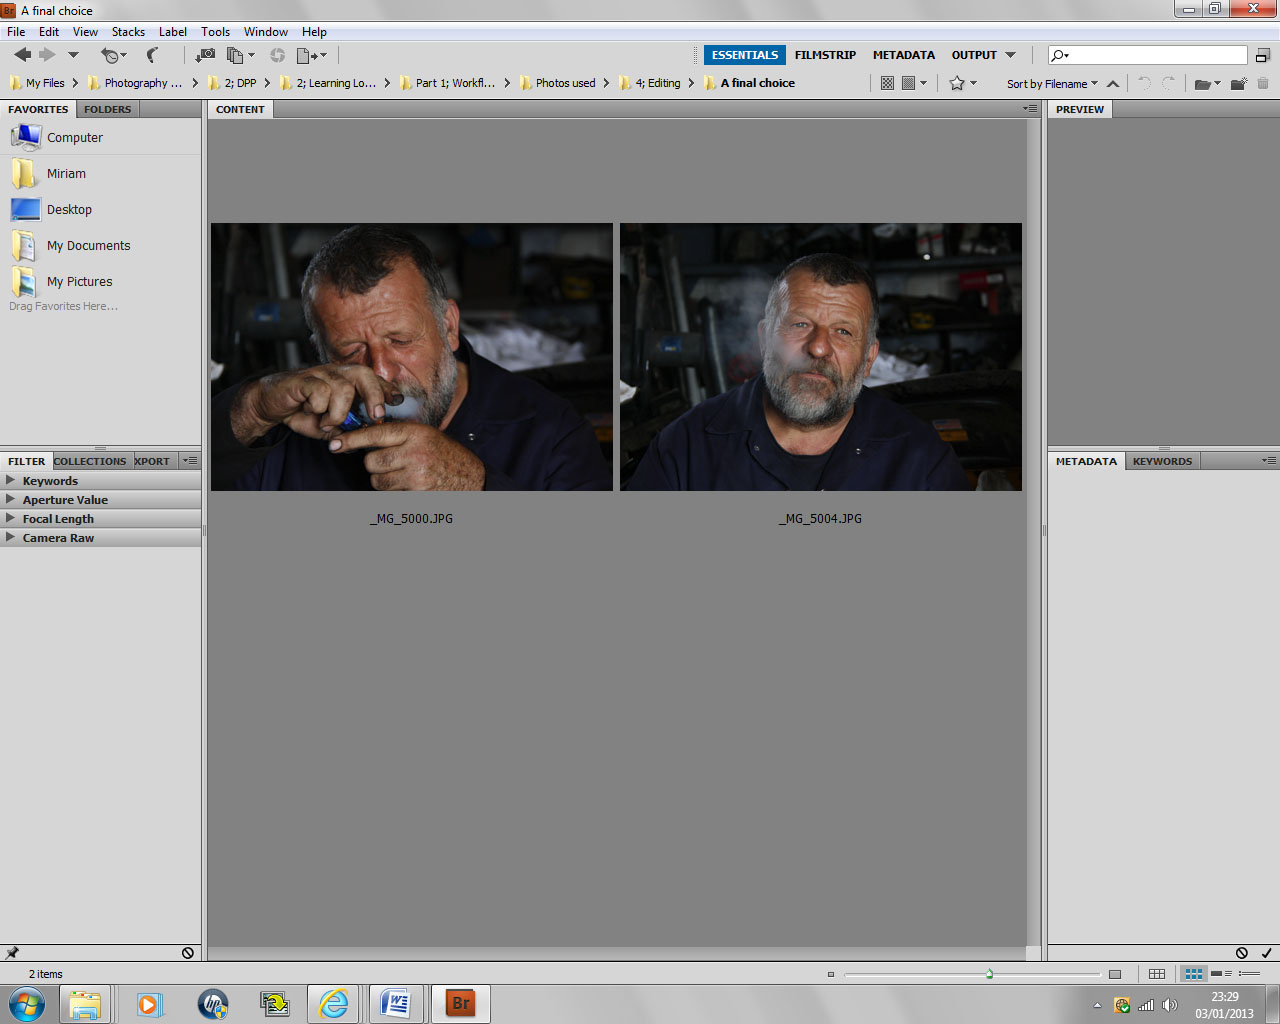
 Step five; - Final choice


I then chose 7 images that I was happy with and these are the images that I selected to edit.
 

Step six; - Final edits/to use 


These are the final images, which I’m extremely happy with; I feel they give a real sense of the whole evening.

With the help of the exercises in this section, I feel I have generated a constructive and organised workflow, I think that my workflow doesn’t vary much from others, it’s and extremely logical way of working and as I stated before, I will work this way from now on.


DPP-Part 1; Exercise 4

  
Exercise; Editing

This is all about how I go about the process of editing my images, I am allowed to and have combined this with a previous exercise in this section, I choose to show the work flow of my mechanic. I have to have a large number of images to edit. The editing processes is as follows;-

Step one; – Original (Technical edit)
 
 
Although this is not a step in the exercise, I feel that this is an important one. This is all the images that I took on the day, I then took out all of the images that were obviously faulty.


Step two; - Deleted (Technical edit)


These are the deleted images, they were either, out of focus, too under exposed and not composed well enough for me to edit in post production.


Step three; – Best images (The selects)


These are the images that are best, after the deletions have been done.


Step four; - The first selects


These are my favourite images because of his facial expressions, I also wanted to get the smoke in the image and I like the composition on all of the images.

 
Step five; - Group and review
I went back and had a look at the previous images, to check if I wanted to change my mind on any of them and add new ones in or take old ones out of the “first selects”, I  didn’t need to as I am happy with my choice.


Step six; - A final choice
 
 
I chose to edit the 1st image as I like the composition of it, even though it’s not “technically” correct, as I’m missing a slight bit of his heard and a bit of his hand. However, I feel that adds to the image, I like that he is slightly off centre and the hands and the smoke are the main focus, if I were to have zoomed out a bit, I think the clarity and focused detail would have been lost.

I chose the second image because of the clarity and focus on his face, also, the reflection in his eyes and I like the gazing look that he gives whilst thinking.

I found this exercise really interesting, I liked the different way of editing, I usually edit slightly differently, as per my workflow assignments, but I think I will use this way from now on as it is logical in its execution.


The final two images, edited, in picture form;-


DPP-Part 1; Exercise 3

 
Exercise; Histogram

The aim of this exercise is to familiarise myself with histograms, by relating each histogram to an image that has just been shot, with varying levels of contrast and f-stops.

The contrasting images are as follows;-
1; Low contrast – f-stops +1, 0, -1
2; Average contrast – f-stops +1, 0, -1
3; High contrast – f-stops +1, 0, -1

The first sets of images are low contrast (a flat image)
1; +1 f-stop


2; 0 f-stop


3; -1 f-stop


For the low contrast (flat images) in all instances, it shows a huge peek in the mid-tone section, on the + f-stop the peek is mainly on the right hand side, which moves from right to left as the f-stops are lessened. The most “correct” histogram is the second photo in this set. However, they do represent a poor image as the histogram dose not reach the edges of the scale.


The second sets of images are average contrast
1; +1 f-stop


2; 0 f-stop


3; -1 f-stop

 
For the average contrast images, these are the closest to how a correct histogram should be, with the second image being the best histogram overall.


The third sets of images are high contrast
1; +1 f-stop


2; 0 f-stop


3; -1 f-stop


For this last set of images, the histogram is showing a high content of shadow and light, which can be slightly altered with the f-stops but is extremely difficult to do so unless you use an over exposed and under exposed image, obviously, this is the most extreme histogram out of all of the images, due to the high contrast.

Histograms move from right to left, depending on the exposure and input levels of the tonal range with the 255 different shades of black, white, red, green and blue, with 18.6 million different colours.

The right hand side of the histogram represents highlights, the middle is the mid-tones and the left hand side is the shadow areas.


An image of the tree, showing the high contrast 
 
 
Where the image shows red, it is the part of the photograph that is completely overexposed and no amount of post production on this image will bring back any of the lost data, I am also able to view this on my camera as a shoot, which comes in very handy when you are out and about.
I enjoyed this exercise as it really points out the mistakes you can make, with your camera settings when taking/making a photograph.


DPP-Part 1; Exercise 2


Exercise; Your own workflow part 2

For the next part of this exercise, I have to devise a workflow that is unstructured and open ended, with the key elements being; an unpredictable number of images, a sufficient amount of time and that I would consider editing images during the shoot.

The workflow that I planned before this event was the following;-

Choosing a subject
I chose to shoot in Northern Ireland, when I was going over to visit my friend, I chose this as I did not know exactly what my subjects would be as I didn’t know what I would be doing on the trip.

Choosing my equipment
I choose to take all of my equipment; again, due to not knowing what may happen, I wanted to be ready for every eventuality. I took my 77mm, 72mm and macro along with my speed light.

What to ensure was ready
I charged all my batteries the day before, bought an extra memory cards with me, my rain cover (with it being Ireland and it raining a lot!), my tripod and again I had my lens cleaning kit.

When I arrived
We went straight away to the Giants Causeway, which was excellent; I fired a few test shots to be able to judge the lighting, which was difficult as the light kept changing.

Timing
I had no idea how long we were going to be there for, so I felt a bit rushed, just in case we had to go.

Settings
My settings kept changing due to the diversity of the weather, it was a very cloudy day, but the sun kept coming out and back behind the clouds again.

Shoot
Throughout the shoot, I wanted to get a really great range of images, with my friend and of the actual causeway and other people, luckily, there were too many tourists there on that day and I found a few really good subjects, to give more of a scale and feel of the Causeway.

After the shoot
When I returned home, I uploaded via bridge.

Organising
I then put the images in a specific file and kept them in the order that I shot them at, I deleted the images that were no good, then I went through every image and choose the images that I liked the most and put them in a separate file.

Sorting and Editing
From there, I zoomed in on every image and checked to see which one was in focus, sharp and had the best lighting; I then put them in another folder named final edits.

Final stages
From the 17 I had chosen, I edited them all and them I chose the best images, which I then put in another file. I chose 2 images as I liked both equally, for different reasons.


I found doing the workflow for this exercise a lot more difficult than the first, as I didn’t know what my subject would be or what time frame I had, I find it strange to do a workflow for a shoot that has to be open ended, however, I feel that I made it work in the end.

I did the same as before with my folders, mainly because, that’s the way I have always worked and I find extremely frustrating doing it any other way.

I edited at the time, however, it was so windy, I couldn’t see anything as I was crying a lot! (from the wind!) and it was extremely difficult, I did it but, I still feel that it is better to download them on to my PC.

I have decided in this workflow exercise, to show my original images and then the final images.


Original


Here are the final two images;-


I chose the first image due to the depth of field and the clarity of the hexagons.

I chose the second image due to the colours and the range of scale with the people walking across the Causeway.

With the workflow of this exercise, I kept all of the stages in the same positions that I have always done, the difficulty was, the anticipation of what I needed to take with me and what I was going to take pictures of, I enjoyed taking these images as it was a lot more random than structured and that gave more of a feel of freedom and creativity.

I also found that I had many more final edits as it was difficult to choose, as I had so many more images, even with editing at the time.

DPP-Part 1; Exercise 1

 
Exercise; Your own workflow part 1

With this exercise, I have to devise and then put in to practice a workflow that suits me personally for a specific short assignment. Doing this as a portrait session with limited time.

The workflow that I planned before this event was the following;-

Choosing a subject
I wanted to choose a subject first, so I could see what equipment I needed. I decided to choose my mechanic; firstly because he has a very interesting face, secondly, he smokes a pipe, so I thought it would be an interesting dynamic shoot.

Choosing my equipment
I choose to use my 72mm lens as I think it’s best for portraits and it’s a good lens, I didn’t bring my speed light as I wanted to have a dark dynamic image, also I think it can be more intimidating to the subject when you have a speed light and as he was reluctant to doing the shoot, I felt it best to not use it.

What to ensure was ready
I charged all my batteries the day before, bought an extra memory card with me and I had my lens cleaning kit.

When I arrived
I fired a few test shots of where I wanted him to be, without him in the spot and with him in the spot.

Timing
I made sure the shoot would be with a 15 minute time frame, enough time for me to get him relaxed and take photographs, but long enough for him to smoke his pipe!

Settings
I then adjusted all of my settings (ISO, Aperture etc) to ensure the lighting was how I wanted it to react with the camera and took some more shots.

Shoot
Throughout the shoot, I wanted him to be as relaxed as possible, so, I talked to him a lot, made jokes and let him do his thing as I wanted the shots to be as natural as possible.

After the shoot
I went home and uploaded via bridge.

Organising
I then put the images in a specific file and kept them in the order that I shot them at, I deleted the images that were no good, then I went through every image and choose the images that I liked the most, expression wise, and put them in a separate file.

Sorting and Editing
From there, I zoomed in on every image and checked to see which one was in focus, sharp and had the best lighting; I then put them in another folder named final edits.

Final stages
From the 5 I had chosen, I edited them all and them I chose the best images, which I then put in another file. I chose 2 images as I liked both equally, for different reasons.


For this exercise, I have shown the work flow that I used above, but for the images on this exercise, I have shown the photos that I chose as my best images and then the final two images.


Here are the images of my workflow;-

Best images


Here are the final two images;-


I chose to edit the 1st image to black and white as I felt it was more dramatic and the detail and focus were on his hands, which I think are really detailed, I especially liked the ash that is on the end of his finger and I feel the black and white, makes it stands out.
 

I chose the second image because of the clarity and focus on his face and I like the gazing look that he gives whilst thinking. I like the composition of both images.

I found this exercise really interesting, I liked taking the images and it was also really good to pre plan my shoot as I had never done it that way before.

I found the workflow worked for me and was easy, as I’m an extremely organised person!  If I had done it any other way, it wouldn’t have made any logical sense, in my head. However, I can see that different styles may work for others.